Updated on 18 February 2017 (Harvard referencing).
19 February, 2016. Today I finally made myself throw away a lot of the ugly old paintings and drawings I had kept for ages for fear of losing touch with my past. Some of them are on wonderful 600g watercolour paper and I knew that I did want to make use of that. So I made a pile of selected paintings and, to make sure I would not be able to keep them after all, went over them with a layer of white acrylic paint. This paint I put on using a small foam roller, so as to avoid leaving brush marks.
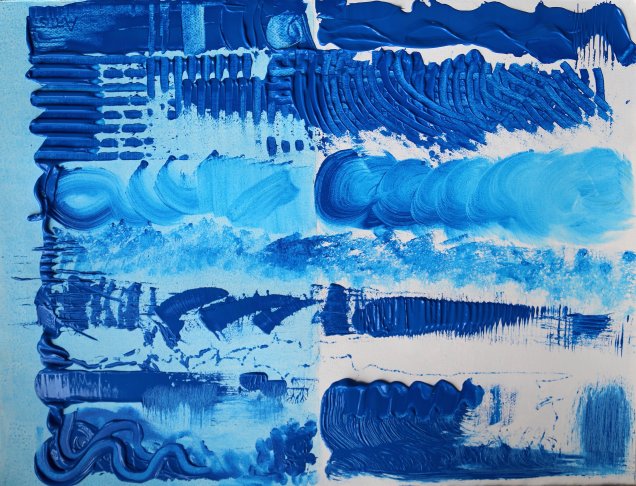
For this exercise I prepared two A2 sheets, one for a monochrome experiment and one for putting on multiple colours. Each I divided in two. One half of each sheet received a dilute coloured wash – monochrome on the first, multicoloured on the second. These I let become dry before starting the experiment described in the study guide.


The following tools were used, plus fingers, a plastic ruler and a rag:
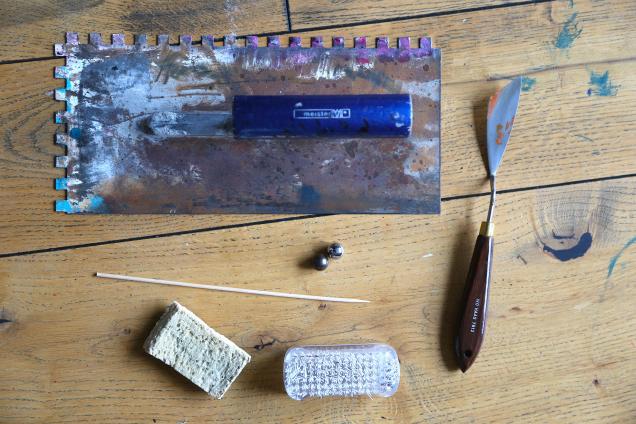
22 February, 2016. Yesterday I continued working on the exercise. First I used the monochrome sheet to explore the marks produced by the above tools, from top to bottom the palette knife, notched trowel, sponge (2 rows) and rag, wooden skewer, 2 stainless steel balls, plastic ruler, and finally fingers on the bottom left, and a nailbrush on the bottom right.
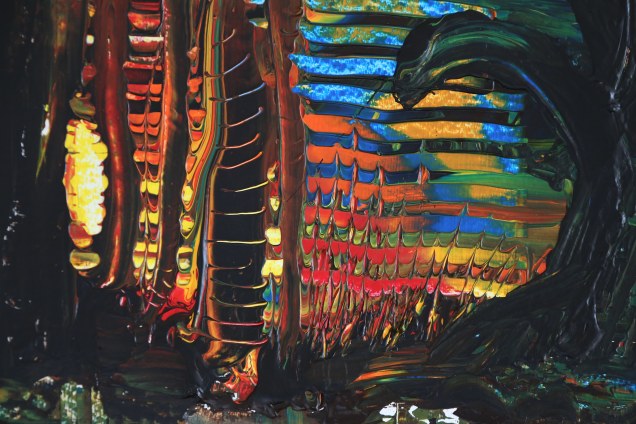
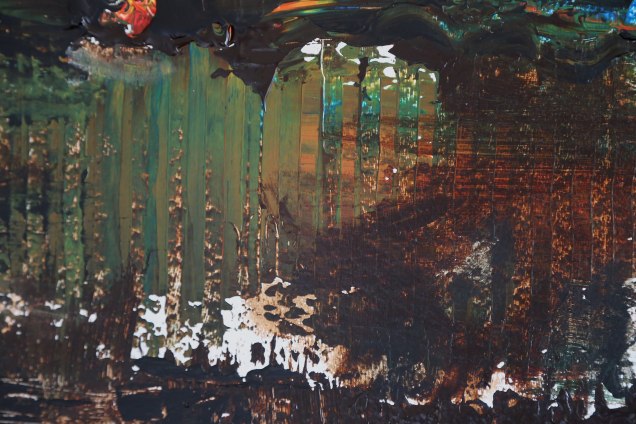
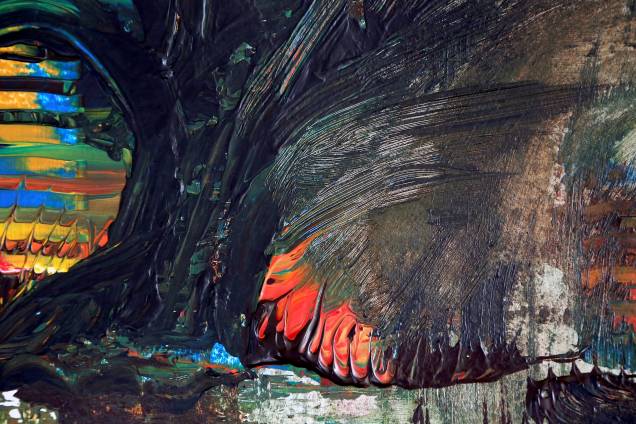
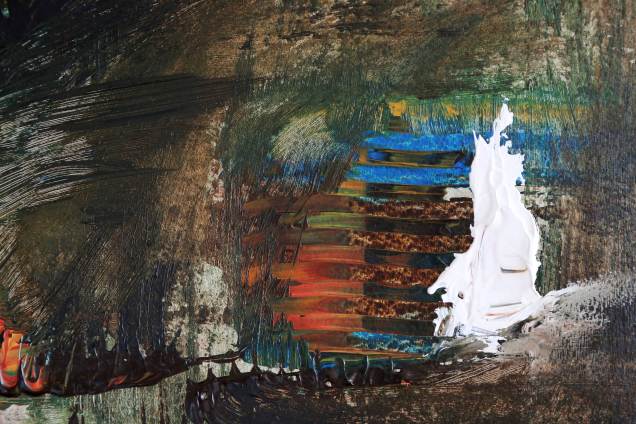
With these in mind I went on to my multicoloured A2 sheet, having decided that it should become something like a painting using all of the above. This is the chaotic result, which I call “Spirit Contemplating Fenland Sunset” ;o).
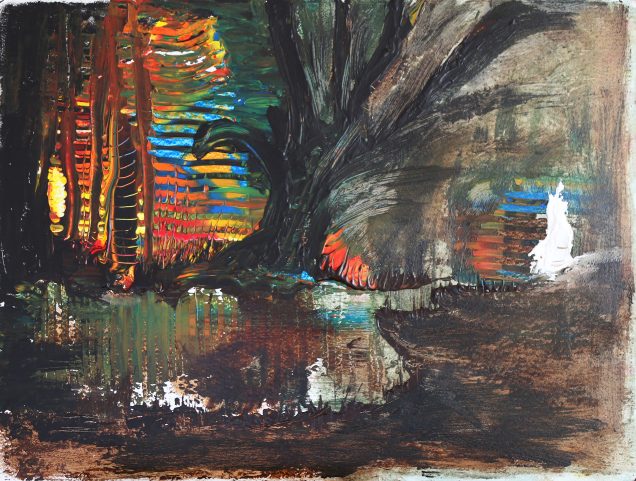
While painting I tried to observe very closely the interaction of paint and tools and to think carefully about the respective effects, including comparing white and coloured background. Thick layers of acrylic paint will stay pliable for many hours, allowing them to be worked on without the need to proceed too quickly. Sometimes it is interesting, however, to allow a layer to become partially dry before continuing to work on it. This is especially important, if I need to produce fine lines e.g. with my nailbrush. Details regarding the tools used see below:
I will use the above results as add-on reference when planning new paintings throughout the course.
